In the quest to enhance home insulation and boost energy efficiency, many homeowners are turning toward DIY foam insulation spray kits. These kits promise professional-grade results without the contracting costs, making them a cost-effective insulation option. As 2026 advances, the market has matured significantly, offering a broad array of products tailored for different insulation projects, budgets, and skill levels, from sealing small gaps to insulating entire crawl spaces or attic floors. Understanding how to navigate these choices is essential to avoid expensive mistakes and ensure your home gains a reliable thermal barrier and effective air sealing.
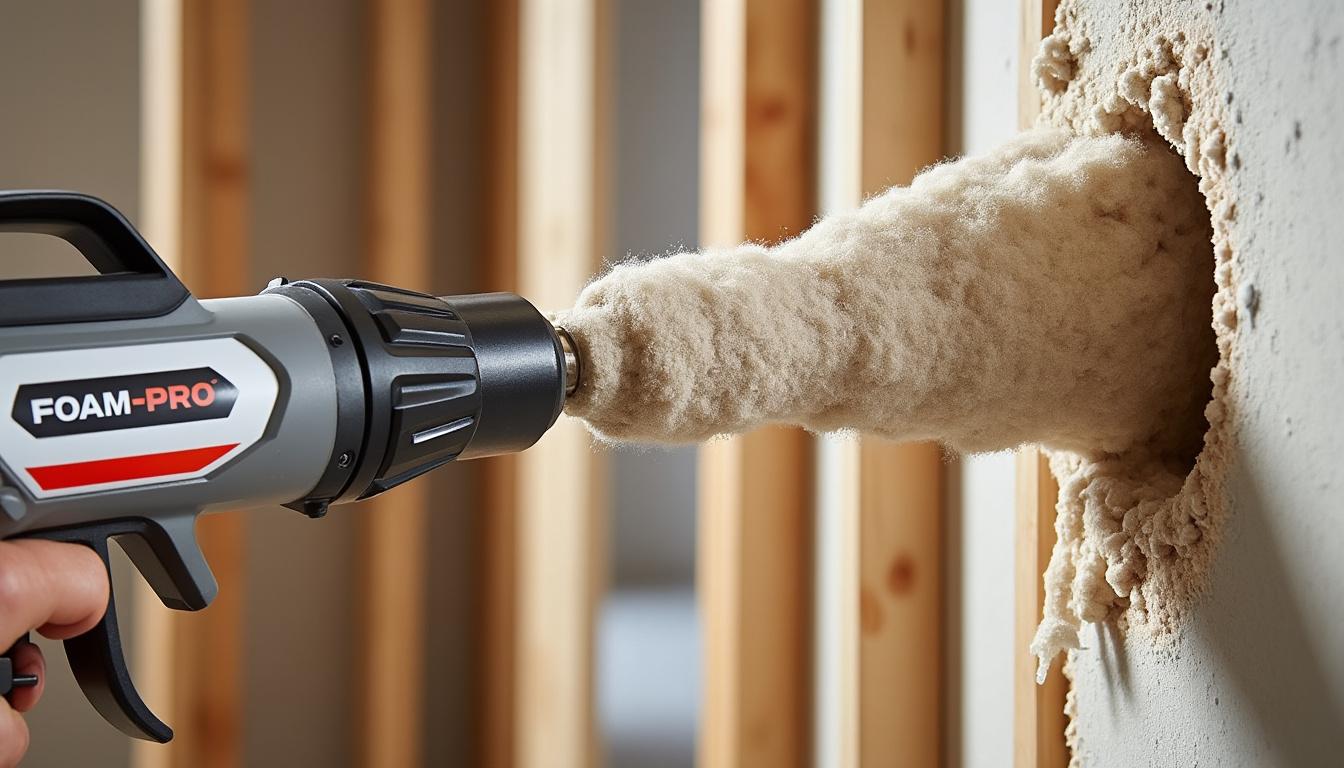
Whether you’re upgrading older insulation or addressing new construction needs, selecting the right spray foam insulation comes with considerations about the type of foam, safety precautions, and your project’s scale. Ready-to-use kits now frequently include protective gear, application guns, and cleaning solutions, streamlining the process for DIY enthusiasts. However, not all kits are created equal, and choosing the wrong product or ignoring crucial application tips can lead to subpar coverage, poor adhesion, or costly removals.
As you explore the growing variety of DIY spray foam insulation kits, it becomes clear that balancing coverage area, R-value, ease of use, and price-point shapes a successful project outcome. Moreover, adhering to manufacturer guidelines for temperature and equipment maintenance proves critical for the foam’s longevity and effectiveness. In this comprehensive exploration, we delve into the leading options on the market today, highlight essential factors influencing your kit choice, and provide practical advice to help you confidently boost your home’s thermal performance in a cost-effective and sustainable manner.
In brief:
- DIY foam insulation kits offer significant energy savings by creating an efficient thermal barrier combined with superior air sealing.
- Coverage size, type of foam (open-cell vs. closed-cell), and R-value per inch are foundational criteria to match your home insulation needs.
- Safety equipment inclusion and adherence to temperature ranges during application are vital for optimal performance and user protection.
- Top kits in 2025-2026 range from small gap fillers to high-capacity systems like the Vega Bond V600, addressing diverse project scales and surfaces.
- Proper preparation, technique, and maintenance of application tools maximize effectiveness and reduce waste in DIY spray foam projects.
Types of DIY Spray Foam Insulation and Their Applications for Homeowners
Choosing between open-cell and closed-cell spray foam insulation fundamentally impacts the effectiveness and suitability of a DIY project. Closed-cell foam generally offers a higher R-value — averaging around R-7 per inch — providing robust thermal barriers suitable for exterior walls, rim joists, and roof junctions. Its high density also acts as a vapor barrier, which can help prevent moisture intrusion in humid climates or below-grade applications.
In contrast, open-cell spray foam, while less dense and with a typical R-value near 3.5 per inch, provides excellent soundproofing and air sealing qualities often preferred in interior spaces such as wall cavities and attics. It expands significantly more than closed-cell sprays, making it a budget-friendly option for smaller or irregularly shaped gaps.
Practical Examples for Application Areas
Consider the STANLEY Supercoat Spray Foam Kit, an excellent choice for insulation projects requiring a moderate coverage area (about 240 sq ft) with an R-value of 5.66. This kit suits hard-to-reach attic corners and wall cavities, providing effective water and pest resistance. On the other hand, the Vega Bond V600 is designed for larger projects such as crawl spaces and rim joists where a sturdy vapor barrier is essential.
DIYers insulating metal roofs or basements, where moisture control and adhesion to non-porous surfaces are critical, will appreciate kits like the Froth-Pak 650 Spray Foam Insulation Kit. This professional-level kit offers extensive coverage (up to 650 board feet) and a quick curing time, ideal for contractors and skilled homeowners.
For smaller, targeted repairs such as sealing window gaps or pipes, the Y’allCanDiy Spray Foam Insulation Kit provides flexibility with 18 cans and necessary accessories, though it requires careful technique to avoid over-application and waste.
Ultimately, identifying the specific sections of your home where insulation and air sealing will make the greatest impact—such as attic floors, exterior walls, crawl spaces, or plumbing penetrations—guides the foam choice and amount needed. For further insights on selecting what fits your unique requirements, resources like which spray foam insulation is best provide detailed product comparisons.
Critical Factors When Choosing a Spray Foam Insulation Kit for DIY Installation
Several key factors shape the decision process when selecting a DIY spray foam insulation kit. These include coverage area, foam expansion rates, temperature application range, included safety equipment, and cost-effectiveness.
Calculating Coverage and Right-Sizing Your Kit
Before purchasing, accurately measuring your insulation area is paramount. Kits range widely in coverage—from about 20 sq ft for small patch repairs to over 600 board-feet for comprehensive area coverage. Experts recommend adding an additional 50% material allowance for irregular surfaces or multiple layers, mitigating shortfalls during application. For example, the great Stuff PRO Gaps and Cracks Fireblock Foam Kit can seal up to 400 sq ft with just three cans, ideal for larger crack sealing or garage insulation.
Managing Temperature Requirements for Effective Curing
Spray foam performance depends heavily on ambient conditions. Most kits require an application temperature between 68°F and 86°F, with canister temperatures ideally above 75°F to optimize foam expansion and adhesion. Products like Kraken Bond Fastcoat provide wider temperature resistance (-103°F to 239°F), beneficial for extreme climate zones but still demand warm canisters before use. Failure to maintain these conditions can lead to poor curing, uneven coverage, or foam degradation.
Ensuring Safety with Included Protective Gear
Handling spray foam involves contact with chemicals that necessitate PPE: gloves, goggles, respirators, and chemical-resistant suits. Kits like the Y’allCanDiy and Froth-Pak 650 provide these essentials, recognizing homeowner safety as a priority. Beyond protection, kit contents typically include cleaning fluids for the application gun and detailed instructions crucial for safe use.
Weighing Cost versus Quality
Pricing varies from $0.50 to $2.50 per square foot depending on foam type, kit size, and included features. Large kits often yield better per-square-foot value but require more storage and handling care. Homeowners prioritizing cost-effective insulation might choose smaller kits for spot treatments, but budget-friendly does not mean inferior quality. User reviews and brand reputation often guide choices, as discussed in comprehensive buying guides at best insulation spray foam kits for DIY projects.
| Spray Foam Kit | Coverage Area (sq. ft.) | R-Value per Inch | Ideal Use Case | Included Equipment |
|---|---|---|---|---|
| Y’allCanDiy Spray Foam Kit | 360 | ~5.5 | Multi-application, medium-large projects | Foam gun, gloves, goggles |
| GREAT STUFF PRO Fireblock Foam | 400 (3 cans) | ~5.5 | Large gap filling, fireblock | Application gun, cleaner |
| STANLEY Supercoat Spray Foam | 240 | 5.66 | Small-medium projects, hard-to-reach | Gun, cleaner, safety gear |
| Kraken Bond Fastcoat | 40 board feet | 5.66 | Small-medium projects, temperature resistant | Gun, cleaner, protective gear |
| Vega Bond V600 Closed Cell Kit | 600 board feet | 7 | Medium-large projects, vapor barrier | PPE, application tools |
| Froth-Pak 650 | 650 board feet | 6 | Large projects, professional usage | Gun dispenser, nozzles, hose |
Application Tips To Maximize DIY Foam Insulation Effectiveness
Successful application of spray foam insulation depends on technique almost as much as the product itself. Improper installation can lead to coverage gaps, foam failure, or excessive waste. Here are some key application tips to ensure your project delivers an effective thermal barrier and air sealing:
- Surface Preparation: Clean and dry surfaces free of dust, dirt, or oils promote optimal foam adhesion. Any residual moisture or contaminants reduce bonding strength.
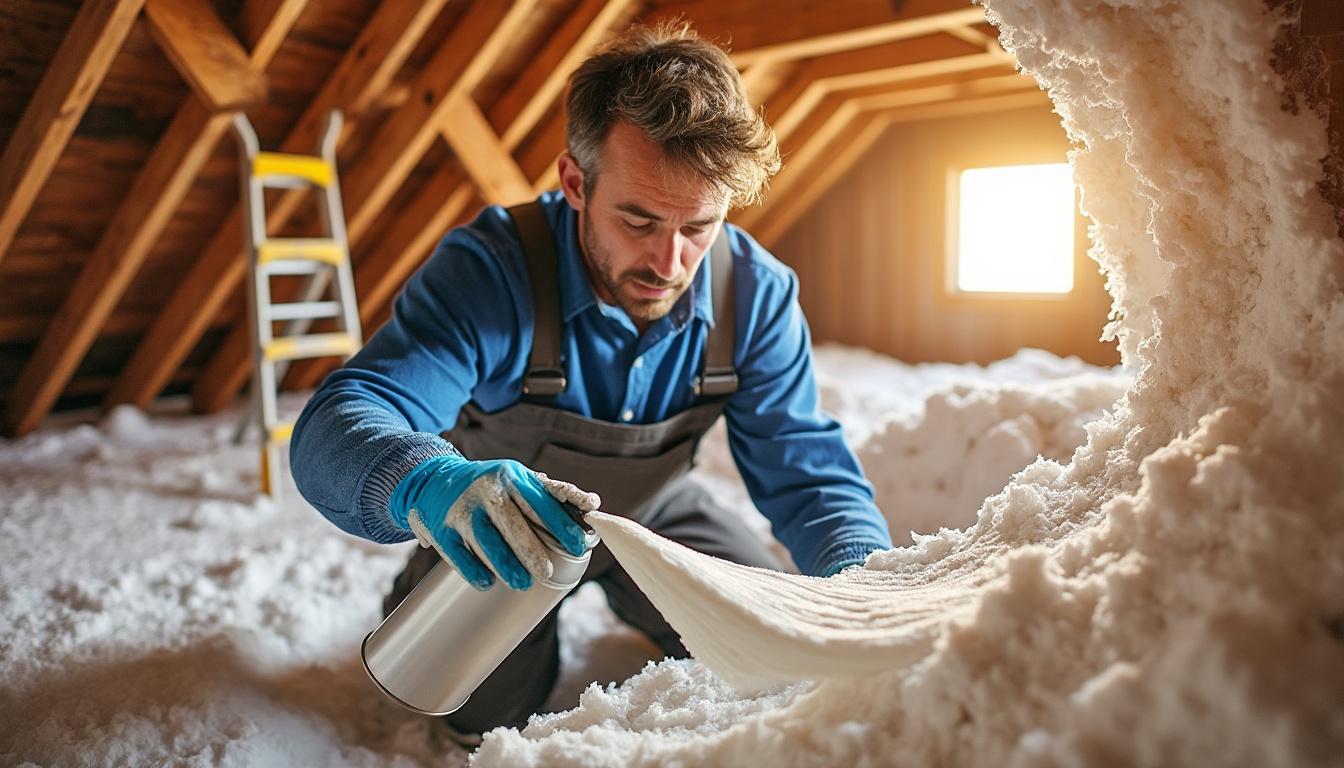
- Protective Measures: Always wear the full recommended PPE, including chemical-resistant gloves and goggles. Ensure adequate ventilation to avoid inhaling fumes that can irritate the respiratory system.
- Correct Spraying Distance: Maintain the recommended 8-16 inches distance to allow proper foam expansion and placement. Spraying too close creates thin, uneven layers; too far reduces adhesion.
- Small Sections Installation: Work in manageable sections, allowing foam to expand and cure gradually. Thick application layers risk uneven drying or curing delays.
- Trim and Finish: Once cured, trim off excess foam with a utility knife to ensure a flat surface. This step prepares the area for finishing touches or further insulation layers.
- Cleaning Tools Post-Use: Clean spray guns and nozzles promptly with included solvent cleaners to prevent clogging and maintain equipment longevity.
Mastering these techniques can transform a DIY spray foam insulation project from a simple home upgrade into a professional-quality improvement. For deeper guides and user reviews, see trusted sources like DIY spray foam insulation worth it, which also explore how these strategies reduce mistakes and costly rework.
Benefits of Choosing DIY Spray Foam Insulation for Homeowners in 2026
The decision to embrace DIY foam insulation sprays aligns with ongoing trends to improve energy efficiency sustainably while managing renovation budgets effectively. Spray foam insulation provides several advantages missed by older materials like fiberglass or cellulose:
Superior Energy Efficiency and Thermal Performance
By offering high R-values and excellent air sealing, spray foam forms a continuous thermal barrier, minimizing energy loss through cracks and cavities. Homes insulated with closed-cell foam typically experience up to a 20% reduction in heating and cooling costs. This results both from improved insulation and the foam’s ability to block drafts, enhancing occupant comfort.
Longevity and Durability of Insulation
Properly installed spray foam insulation lasts 80-100 years without significant degradation, surpassing conventional insulation types that may settle or lose effectiveness over time. It’s resistant to mold, pests, and moisture damage, which reduces the likelihood of structural problems tied to humidity or infestations.
Noise Reduction and Pest Control
Open-cell spray foam’s density helps in soundproofing rooms by dampening airborne noise. Dense closed-cell foam also acts as a barrier against insects and vermin, reducing the risk of home damage. This dual function supports a healthier, quieter living environment.
- Energy cost savings through reduced heating and cooling demand
- Improved indoor air quality by sealing allergens and pollutants
- Increased home value owing to enhanced insulation performance
- Quick installation and curing times cutting down labor costs
- Versatility for varied surfaces and applications throughout the home
Homeowners interested in the multiple advantages of spray foam insulation can explore practical insights and product options at industry-leading sites like best DIY spray foam insulation kit reviews for a thorough evaluation of 2026’s top solutions.