Maximizing the usability and comfort of a shed throughout all seasons requires a strategic approach to shed insulation. Given the extremes in temperature the United States can witness—ranging from sweltering summers to freezing winters—effective insulation emerges as a vital consideration for homeowners and contractors alike. Insulating a shed not only cushions the interior environment from harsh weather variations but also protects stored equipment, craft supplies, or seasonal gear from moisture damage. Furthermore, a properly insulated shed can cut energy costs, especially if equipped with HVAC or auxiliary heating systems.
Whether a shed serves as a workshop, an office retreat, or valuable extra storage space, its comfort during both summer and winter hinges largely on the insulation system. The growing DIY culture combined with advanced insulation materials has empowered many property owners to upgrade these secondary buildings for year-round use. From choosing the right insulation materials to mastering installation techniques and integrating effective ventilation, the process is multi-faceted but highly rewarding. This article aims to dissect these critical aspects, ensuring shed owners achieve consistent temperature control, moisture protection, and enhanced energy efficiency for comfort throughout the year.
Quick Highlights:
- Proper insulation maintains consistent shed temperatures, easing summer heat and winter chill.
- Selecting appropriate insulation materials like spray foam or rigid foam boards is crucial for effectiveness.
- Sealing air leaks and establishing ventilation prevent moisture buildup and improve air quality.
- Floor insulation complements wall and ceiling insulation to create a complete thermal barrier.
- Supplementing insulation with energy-efficient lighting and thermal window treatments further maximizes comfort and reduces energy consumption.
Why Effective Shed Insulation Is Essential for Year-Round Comfort
One of the fundamental reasons to insulate your shed lies in maintaining comfortable temperatures throughout the year. Sheds are often subjected to severe temperature fluctuations due to their lightweight construction and minimal thermal mass. Without insulation, they can experience heat gain during summer, reaching uncomfortable temperatures that render the space unusable, and cold losses in winter that chill the interior to uninviting levels.
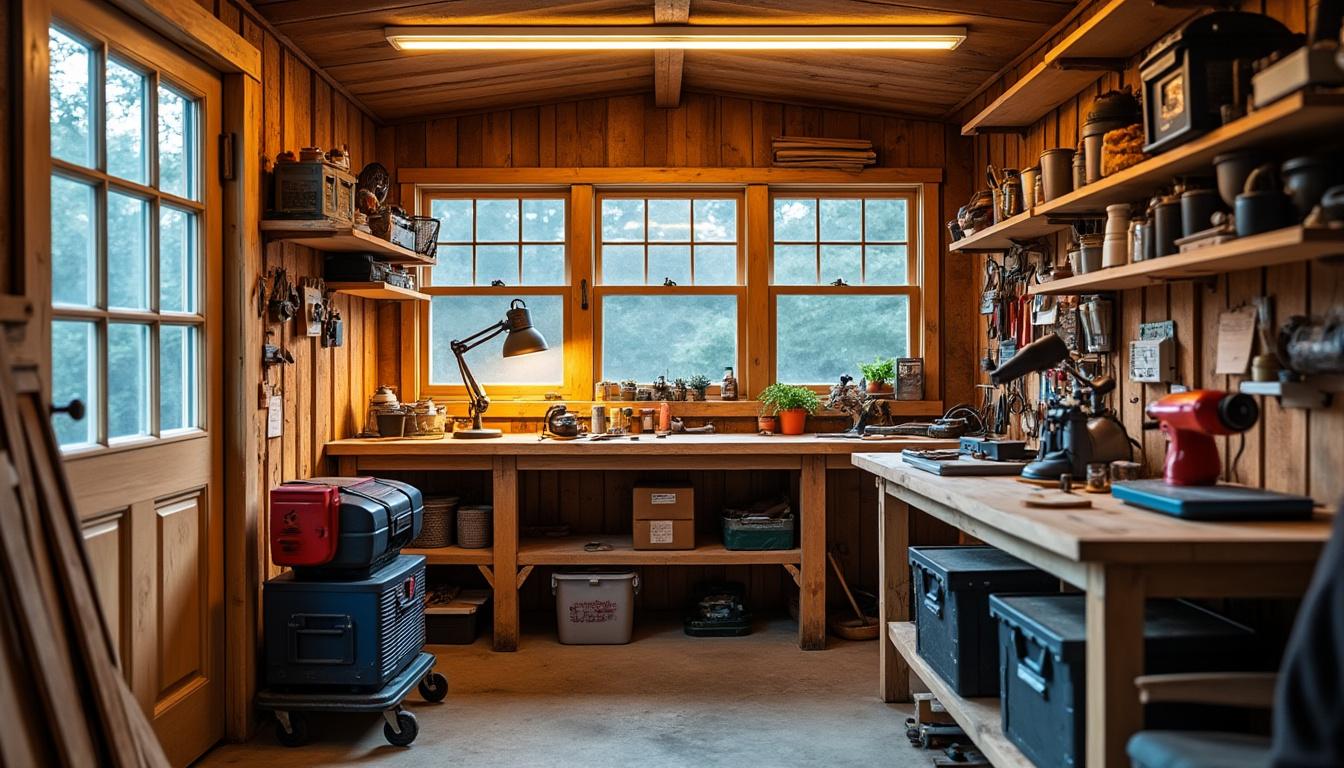
Effective insulation acts as a thermal barrier by reducing heat flow through the shed’s walls, roof, and floor, thus stabilizing internal conditions. This temperature control is essential if the shed is intended as a workspace or recreational area where comfort directly affects usability and productivity. For instance, a hobbyist working on woodworking projects will need a stable indoor climate to avoid tools warping under moisture or extreme temperature changes.
Beyond comfort, insulation supports energy efficiency by lessening the demand on heating and cooling systems. An insulated shed requires less energy to maintain a desired temperature, translating to lower utility costs. This is particularly relevant if you have installed HVAC units or electric heaters in your shed. Moreover, insulation can protect stored items such as paints, adhesives, and electronics that degrade or become unusable when exposed to extreme cold or heat.
Moisture protection is another critical benefit. Insulation coupled with proper vapor barriers helps prevent condensation buildup, which can lead to mold, mildew, and structural deterioration. For example, condensation behind uninsulated walls during cold months can cause wood rot or rust metal tools. By maintaining consistent internal humidity and temperature levels, insulation preserves the shed’s longevity and usability.
Real-world applications have demonstrated that even simple insulation upgrades can make a significant difference. A homeowner in Illinois reported that installing spray foam insulation reduced summer interior temperatures by nearly 15 degrees Fahrenheit and kept winter heating costs minimal. This underlines how spatial temperature regulation and proper insulation complement each other to create a more versatile shed environment.
Choosing the Best Insulation Materials for Your Shed
Selecting the right insulation materials is paramount to achieving year-round comfort in a shed. Several types of insulation materials are suited for different shed designs, climates, and budgets. Each material possesses unique properties in terms of R-value (thermal resistance), installation complexity, moisture resistance, and cost.
Fiberglass Insulation: Budget-Friendly with Proven Performance
Fiberglass insulation remains one of the most popular choices due to its balance between cost and efficiency. Available in batts or rolls, fiberglass fits easily between wall studs, rafters, and floor joists. It offers decent thermal performance alongside inherent fire resistance, making it a reliable option for many shed owners. However, fiberglass must be installed carefully to avoid gaps or compressions that undermine its insulating capability.
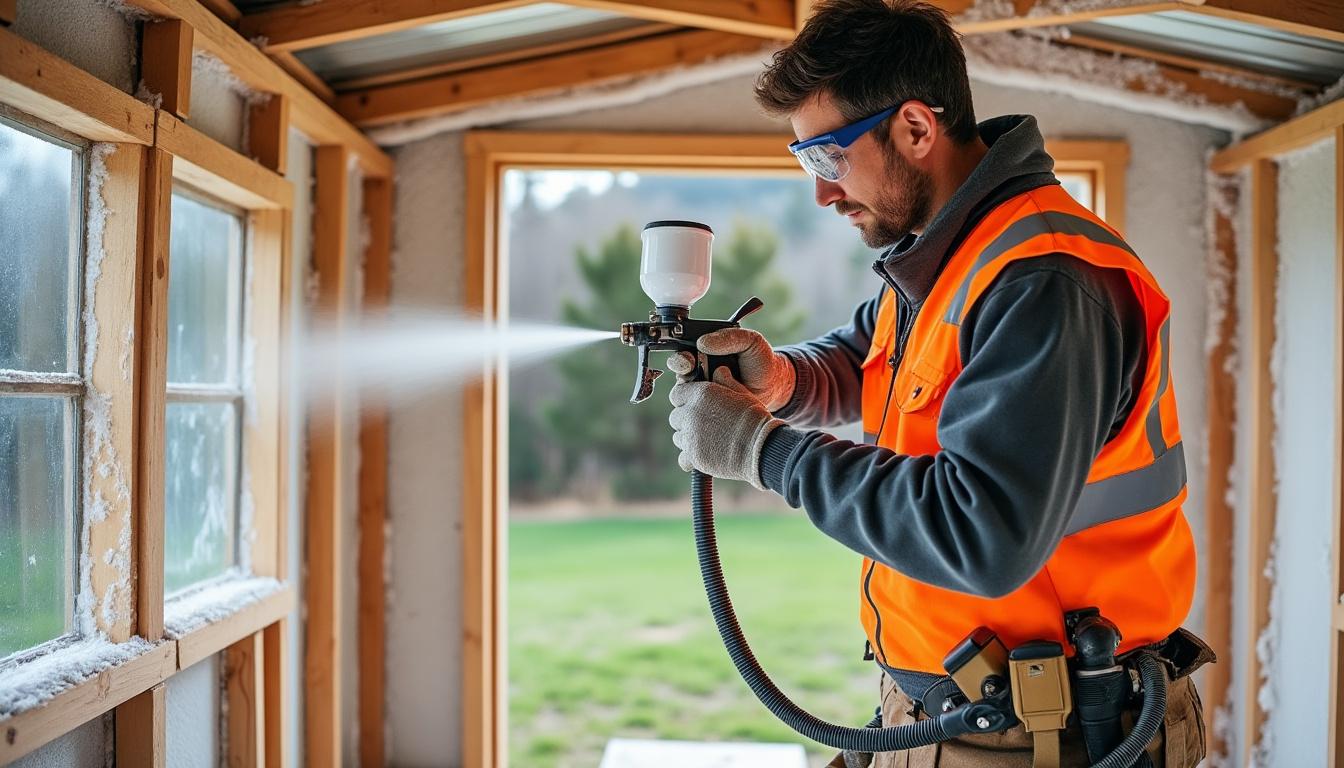
Spray Foam Insulation: Superior Coverage and Air Sealing
For sheds with irregular framing or tight crevices, spray foam insulation often delivers the best thermal barrier. Expanding upon application, it fills hard-to-reach gaps, sealing air leaks simultaneously. This dual function makes spray foam one of the most efficient materials for temperature control and mitigating drafts. The higher upfront cost is offset by long-term energy savings and less frequent maintenance needs.
Rigid Foam Insulation: Durable and Versatile for Floors, Walls, and Roofs
Rigid foam insulation boards offer the dual advantage of structural rigidity and high R-values. Lightweight and easy to cut, these boards suit do-it-yourself installations and can be applied to floors to prevent cold drafts from beneath, as well as walls and ceilings. Their moisture resistance is an asset in regions with damp soil or high humidity. By creating a continuous thermal barrier, rigid foam helps improve the shed’s overall energy performance.
Reflective and Radiant Barriers: Optimal for Hot Climates
In parts of the U.S. with intense sunshine, reflective insulation—often aluminum foil layered between plastic sheets—works by reflecting radiant heat away from the shed’s surfaces. It’s most effective when paired with other insulation types to address conductive and convective heat transfer. Reflective insulation helps reduce cooling costs and limits overheating during warmer months.
Summary Table of Common Shed Insulation Materials
| Insulation Material | R-Value Range | Ideal Applications | Advantages | Considerations |
|---|---|---|---|---|
| Fiberglass Batts | 2.9 – 3.8 per inch | Walls, ceilings, floors | Affordable, fire-resistant, easy to install | Moisture sensitivity, requires precise fitting |
| Spray Foam | 6.0 – 7.0 per inch | Irregular spaces, air sealing | Excellent air barrier, fills gaps | Higher cost, professional installation recommended |
| Rigid Foam Boards | 4.0 – 6.5 per inch | Floors, walls, roofs | Durable, moisture-resistant, DIY-friendly | Costlier than fiberglass, can be damaged if unprotected |
| Reflective Insulation | Varies, primarily radiant | Hot climates, paired with other insulation | Reflects heat, lightweight | Limited use in cold climates |
For additional insights on material performance and installation, readers may consult detailed resources such as this comprehensive guide or practical walkthroughs like the step-by-step insulation tutorial.
Installation Techniques to Optimize Shed Insulation Performance
Choosing quality insulation materials marks only the beginning. For peak effectiveness, precise installation and preparation are critical. Air sealing, ventilation planning, and layered insulation contribute significantly to a shed’s thermal performance and moisture defense.
Seal Air Leaks to Minimize Heat Loss and Drafts
Gaps around windows, doors, vents, and electrical outlets can let cold air in and warm air out, dramatically reducing insulation effectiveness. Seal these leaks using caulk, foam sealant, or weatherstripping to create a near-airtight envelope. This initial step maximizes the benefits of installed insulation materials.
Ventilation: Balancing Moisture Control with Insulation
Good ventilation is essential to prevent condensation buildup within insulated sheds. Without proper airflow, moisture from activities or outdoor humidity can accumulate, fostering mold and wood decay. Installing soffit vents, ridge vents, or a small powered exhaust fan aids continuous air circulation. This purposeful ventilation balances moisture protection with thermal insulation, maintaining comfort and structure health year-round.
Insulating the Shed Floor: A Crucial Step Often Overlooked
A well-insulated floor adds an indispensable layer of thermal comfort, preventing cold drafts rising from the ground and moisture intrusion. Applying materials such as rigid foam boards or spray foam beneath floorboards enhances heat retention inside the shed. This is especially important in regions with cold winters or high humidity. A shed floor that stays warm and dry amplifies year-round usability and energy savings.
Layering Insulation for Comprehensive Thermal Barrier
Combining insulation types can address different heat transfer modes. For example, using reflective foil insulation in conjunction with fiberglass batts can simultaneously block radiant heat and reduce conduction. Such layered strategies ensure higher comfort levels, particularly in sheds exposed to variable weather patterns.
When unsure about installation complexities, hiring a reliable contractor or insulation expert ensures work meets standards and lasts into the future. Guidance for finding proficient installers can be found at trusted sites like Allyear Insulation.
Additional Strategies for Maximizing Energy Efficiency and Year-Round Comfort
Insulation does not work in isolation to provide comfort and energy efficiency; supplementary measures can greatly amplify its effectiveness. Simple upgrades and periodic maintenance make all the difference in creating a shed truly enjoyable throughout the year.
- Install Energy-Efficient LED Lighting: LEDs consume less electricity and emit less heat, reducing temperature spikes inside the shed during summer months.
- Use Thermal Curtains or Blinds: Insulating window treatments help minimize heat loss in winter and limit heat gain in summer, maintaining stable internal temperatures.
- Add Weather Stripping Around Doors and Windows: Sealing these openings prevents drafts that undermine insulation efforts, keeping your shed insulated and cozy.
- Regular Maintenance of HVAC Systems: For sheds with heating or cooling units, timely servicing ensures energy is not wasted and comfort levels remain consistent.
- Ground Moisture Management: Proper grading, installation of vapor barriers beneath floors, and keeping gutters clean prevent excess moisture that could compromise insulation and structural components.
These ancillary practices complement insulation installation to deliver comprehensive thermal comfort, energy savings, and moisture protection across all years’ seasons.
The Critical Role of Floor Insulation in Shed Comfort and Longevity
Floor insulation is a cornerstone of effective shed insulation strategies, often overlooked despite its significant impact on thermal regulation and structural durability. Many sheds have minimal subfloor insulation, leaving them vulnerable to cold floors during winter and moisture penetration year-round.
Insulating the floor tackles both temperature control and moisture defense. For example, applying rigid foam boards between floor joists creates a robust thermal break, preventing cold ground air from infiltrating. Spray foam, meanwhile, expands to fill gaps thoroughly, ensuring no weak points in your insulation layer. Incorporating a vapor barrier beneath the floor further guards against ground moisture, which can cause mold or wood rot.
Elevating the shed floor slightly above ground level offers additional advantages by enhancing airflow beneath the structure and limiting frost heave effects in colder climates. Such designs align well with insulation practices, combining physical spacing and thermal protection for superior year-round comfort.
Here is a concise breakdown of floor insulation methods:
- Assess and repair existing floor structure to create a solid base.
- Choose insulation material appropriate for climate and budget (rigid foam, spray foam, fiberglass batts).
- Install vapor barriers beneath floors to reduce moisture intrusion.
- Seal all gaps and cracks along floor edges with caulk or foam sealant.
- Consider adding insulated subfloor panels for extra thermal protection.
- Keep the shed elevated, where feasible, to improve airflow and moisture control.
Proper floor insulation not only contributes directly to warmth and dryness but also enhances the durability of the shed by mitigating environmental damage. Resources like expert floor insulation tutorials provide practical advice for those opting for DIY insulation projects.